
Hiya! As promised, my guide as to how I made my Lucy Heartfilia cosplay!

I tried to stay true to the costume but I may have taken a few liberties with it for time’s sake. This costume is deceptively simple and expensive, thankfully, I have a job that allowed me to create this.
Let’s go from the bottom up.
Boots
I already owned a pair of black boots and while they didn’t quite come up to my knees, I decided to use them anyways because it created the illusion that I was taller than I actually was.
Lucy’s boots actually have a fold at the top, like pirate boots. This is a minor detail most people ignore, but if you are a stickler for accuracy, take note!
Skirt
I used a royal blue bottom weight fabric from Jo-ann’s. Since I have a serger, I used it to finish the seams and prevent fraying. My one mistake was serging in white, instead of black! I will probably end up painting the threads to match later.
The question arose: what kind of pleats do I use?
Having grown up attending private school with a set uniform, I knew from personal experience that box pleats, while it makes a skirt look full, does not lend it self to flow and tends to lie flat against the body. On the other hand, knife pleats do give a bit of flounce to a skirt, but they all go in the same direction and if done incorrectly, will make it look like your skirt is constantly being blown to the side. Lucy’s skirt has a bit of a flounce to it, so I chose to go with knife pleats.
I bought two yards of bottom weight, cut my waistband from the fold, and serged the raw edge. I used a topstitch to secure the hem, but if I were to do this again, I’d do a blind hem stitch instead. Then, I made two-inch deep knife pleats, basted the top, and inserted my zipper on one side. From there, I measured how much fabric I needed to cut off, adjusted my pleats so that my side seam was hidden in a pleat, and serged the seam.
I topstitched the edges of the pleats down. It is very important that you topstitch your pleats! Not only will it give your skirt a bit of shape, it also prevents your pleats from looking like they’re blowing in one direction.
Finally, I took my waistband, double-folded it, and measured around my waist, leaving an extra inch at one end for an overlap closure. I folded the hems and attached it to my skirt like bias tape.
Belt
I found a brown belt at Target and bought it a size bigger so that it would sit slanted on my hips. Honestly, this was more a time issue and I’d make my belt as seen in the picture below because of issues I kept having with the belt buckle showing.
Whip
I tried to find a good whip at a Halloween store but had no luck. Instead, I made one! The handle needs to be covered with Wonderflex to build up the shape, but I’m pretty happy with how it turned out.
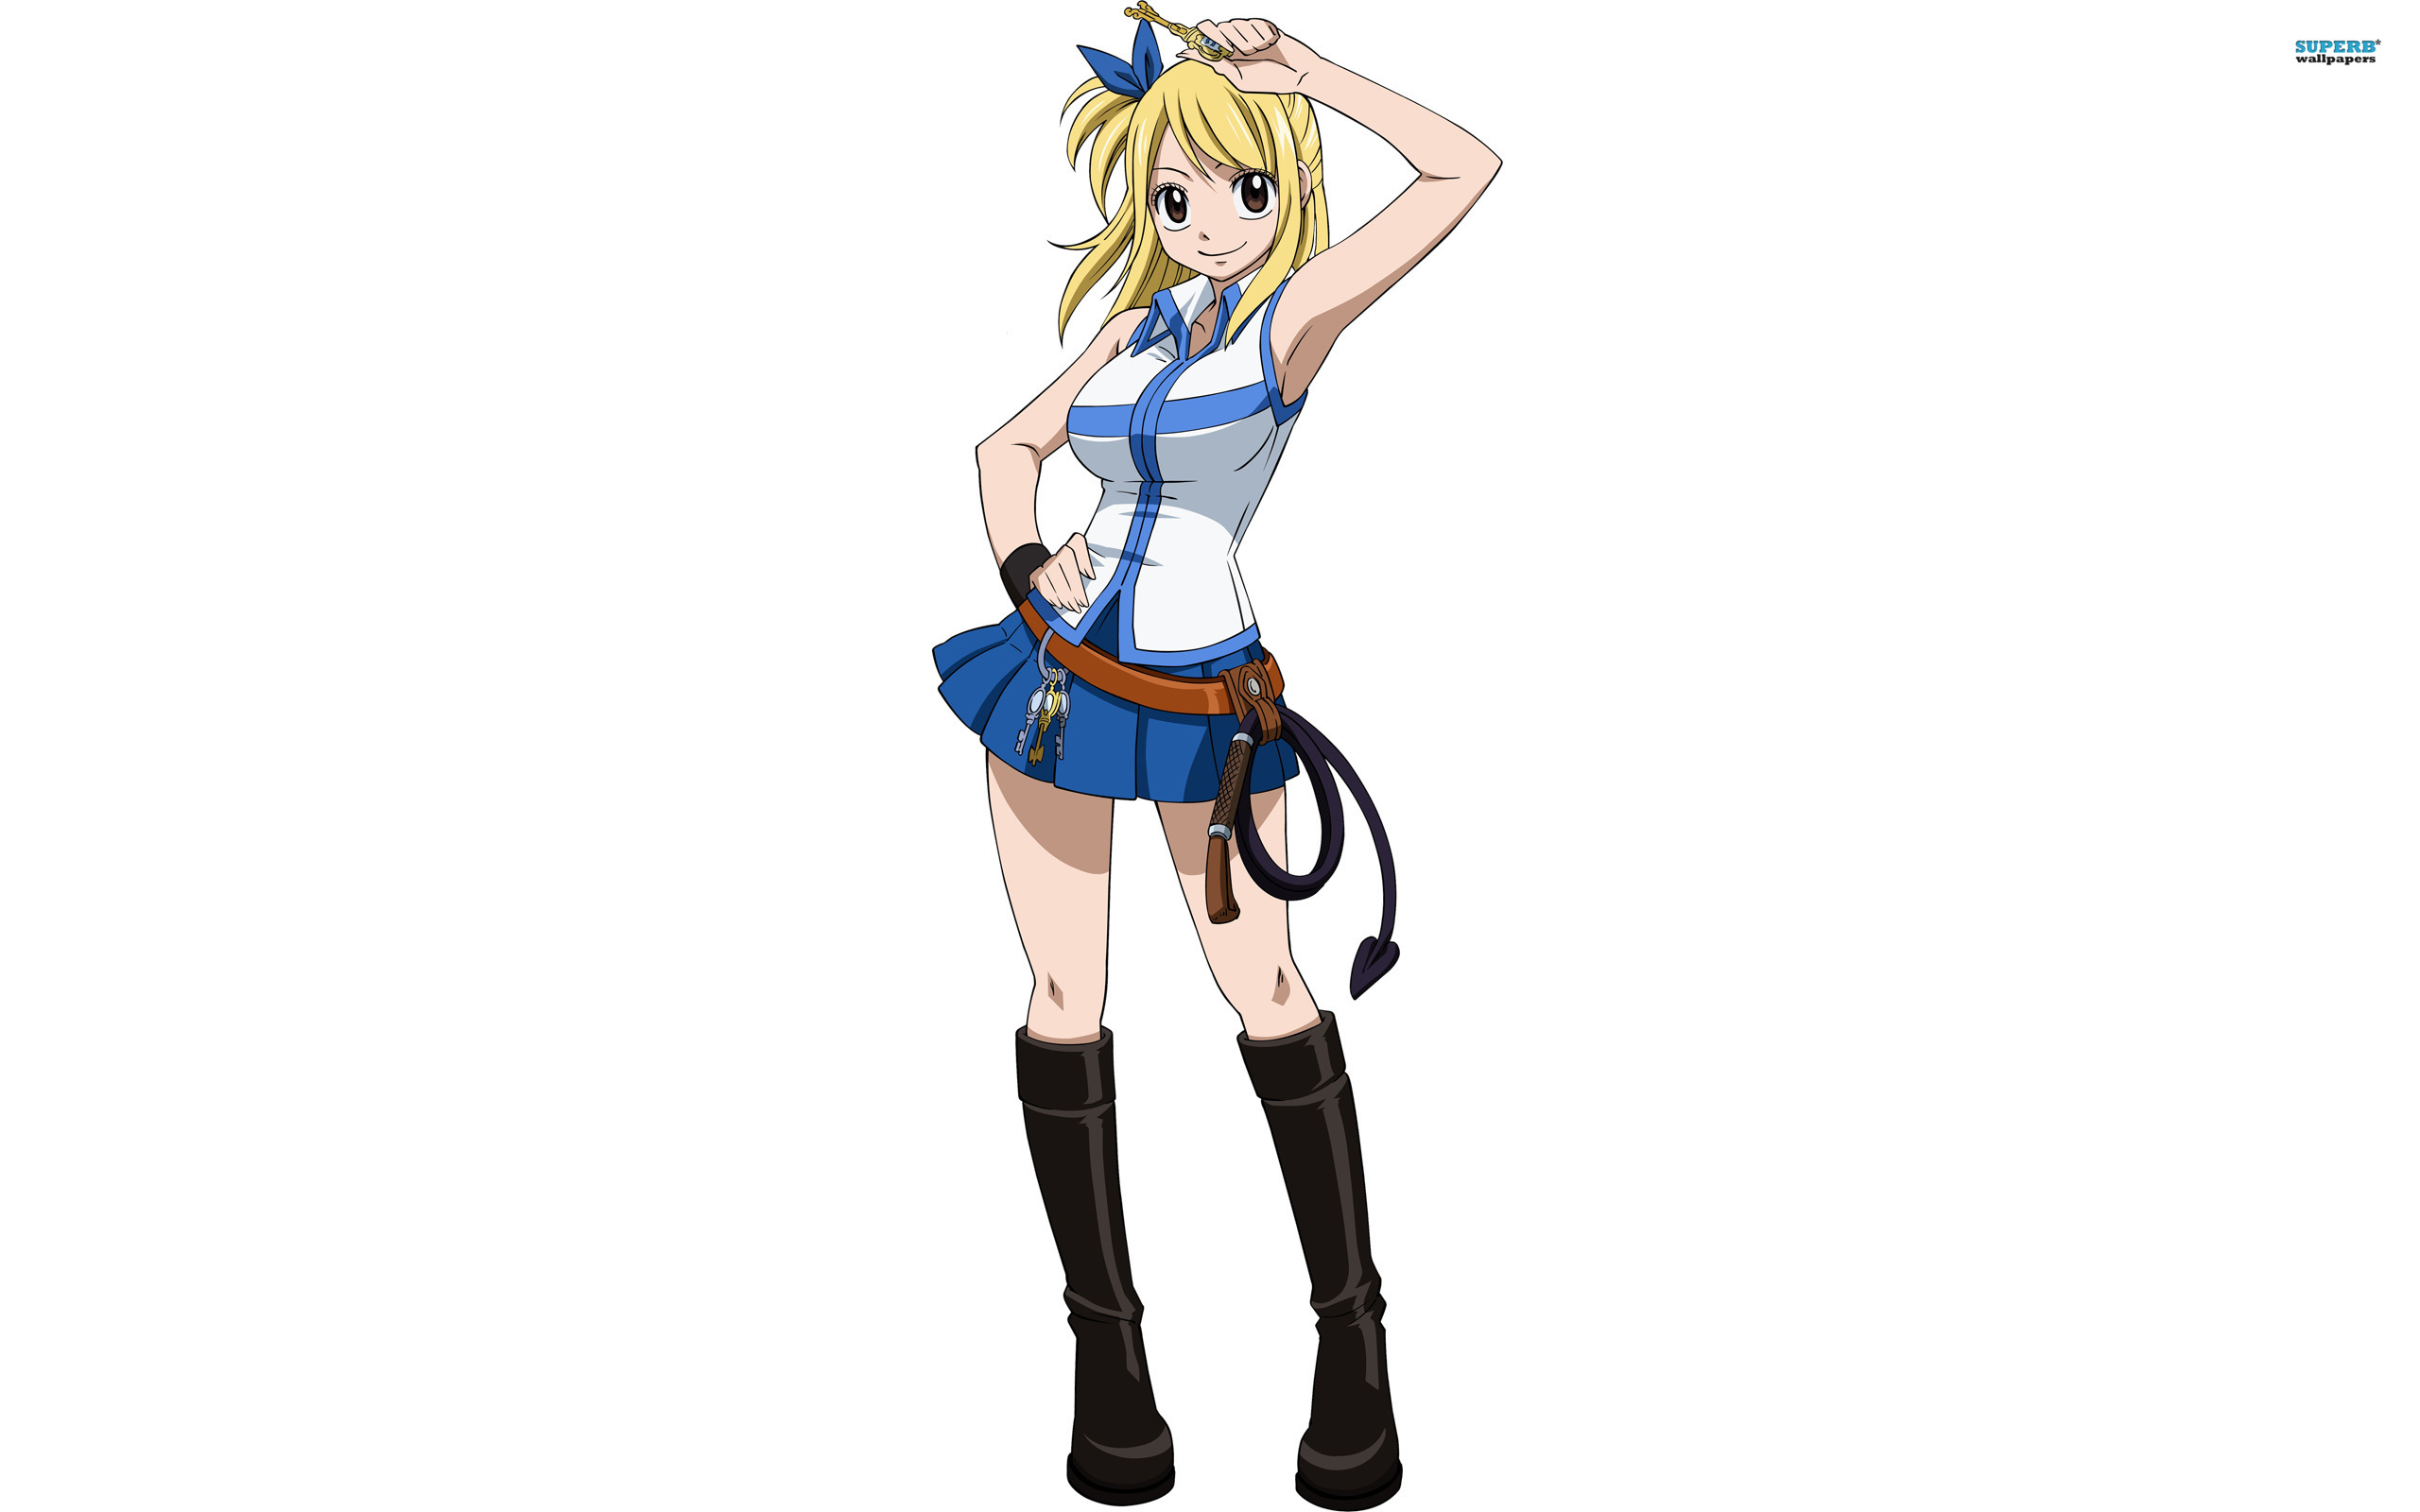
I went to the remnants section and found black vinyl. You actually won’t need more than half a yard, depending on how long your want your whip to be. I sized mine based on how Lucy hold it in this picture:

Then I bought a package of 1/2″ thick cotton cord, found in the drapery section of Jo-ann’s.
I had a sponge brush with a wooden handle that I used as a base because it had a plastic insert attached to it with a loop inside the sponge. I cut my cord twice the length I needed, threaded it through the insert, and had the base of my whip.
First, I cut two heart shapes out of vinyl for the end of the whip and sewed them together, leaving an opening at the top. Then, I cut quarter-inch wide strips of vinyl down the long edge. I needed eight of these strips because of how long my whip was. I joined two strips together, leaving me with four very long strips.
Now it is time to start braiding! I secured the vinyl strips to the plastic insert of my paintbrush with painter’s tape and went in a braid-like pattern around my cord. It’s important to make sure you keep to the pattern otherwise your whip will not look right and it will not wrap around the cord. Pull the strips tight as you go.
When I got to the end of the cord, I stuffed it into the heart pocket and stitched the whole thing shut.
At this point, I spray painted the wooden handle and tape matte black because I was running out of time, but this winter break, I’m going to fix it with Wonderflex and add the brown loop at the end of the handle.
Shirt
Never before have I had such issues with a simple shirt. I couldn’t figure out what the shape of the neckline was supposed to be since it is different from the anime to the manga. I went with the anime version, which depicts Lucy’s shirt as being an zip up shirt.
My next problem was the blue stripe going across her shirt. In some pictures, there isn’t a corresponding stripe on the back. Again, I went with the anime, which does have a back stripe.
Then, I had to deal with the color. I didn’t want to add fabric onto to reduce bulk at the bust and I didn’t want any excess stitching either. My first attempt was to paint directly onto the fabric using a combination of fabric dyes, but I couldn’t get the correct color and there was a lot of bleeding. For my second attempt, I used matte velveteen paint in Royal Blue, which ended up providing the perfect contrast between my shirt and skirt.
Drew my pattern on my fabric for both the front and back, spread it out on my table, and taped the edge of my band down. Then, I painted it in my fabric paint with a sponge brush (coincidentally, the same brush I used as the base of my whip) and let it set for about an hour before peeling off the paint.
I’ve heard and gotten mixed things with peeling tape off so early. Some people say you should peel off the tape the moment you’re done painting as that will prevent any paint that crept under microscopic bubbles from seeping in and setting. Other say if you pull it too early, you’ll ruin the design and have to re-tape it anyways. For the most part, allowing the paint to set a little bit worked pretty well.
Then, I moved onto making matching bias tape. After my paint dried, I steamed it according to directions. Next, I cut my shirt out, serged the inside seams, applied my bias tape and zipper, and WALAH! I had Lucy’s shirt. My shirt needed to be taken in, so I put in darts at the front and back.
Wig
There are few things to know about Lucy’s hair. Depending on your skin tone, the color of blond you pick will be drastically different from one person to the next. Bright yellow blond looks absolutely ridiculous on me but on Laura, who is pale and Scotch-Irish, it looks a little less ridiculous.
I ended up buying this lovely wig from Epic Cosplay and it is their Theia in Caramel Blonde. I bought both the base wig and the short ponytail clip after discovering there was no way for me to pull the fibers up into a full looking ponytail without losing half my wig. Initially, I wanted to add in wefts to hide the exposed skeleton to give the impression that my wig was tied back in a side ponytail, but I ran out of time and ended up not doing so. I did, however, keep the excess fibers from when I trimmed the ponytail clip to length.
The Theia wig was a great choice because it was already styled like Lucy’s hair when it’s down but I wish I bought the Nyx wig instead because of the smaller skin top. Oh well.
Hair Ribbon
When I painted my shirt and bias tape, I also painted a wider strip of fabric. I cut it to shape, sewed it together, and inverted it before stitching the opening closed. Most of the ribbon is longer than it need to be to accommodate the ponytail clip, but I hide the excess ribbon by weaving it through the teeth of the clip. This also helps the knot stand up straight.
Keys and Key pouch
The key pouch is not really necessary but I knew I was going to make the Grand Magic Games outfits so I went ahead and purchased one for $5 on Amazon. It comes with a small keyring and contrary to popular belief, it does NOT fit all of Lucy’s keys. I tried. And failed. Miserably.
The keys were also purchased on Amazon and were a total steal at $20. I got the 22 key set, which actually includes anime and manga versions of some of the gate keys, and anime-only keys. You also receive the full Zodiac set and a keyring with keychain rings.
A word of advice! Do not try to be a smartass like me and use jump rings to attach the keys to the keychain rings to make them lie “correctly.” Honestly, no one is going to notice and the jewelry jump rings are not strong enough to hold the keys onto the rings if they snag on something. The keychain rings are included for a reason! I dropped four keys before a very kind fellow cosplayer picked up my Aquarius key at an event and helped me find two more.
I’m pretty sure I let out the most in-character shriek of horror at that moment.
Anyways, the lovely Rin let me borrow her Leo key until I get a new one!
In short…
I loved making this costume! It made me fall in love with cosplay all over again. Sometimes, especially after competition pieces, I forget why I invest so much time, effort, and money into the hobby and little things like this make it fun again.
Questions? Feel free to ask in the comments below or visit me on Facebook!
-

- Photo by Robert Thompson
-

- Photo by Robert Thomspon
-

- Photo by Robert Thompson
-

- Photo by Robert Thompson
-

- Photo by Robert Thompson
